Wednesday, June 9, 2010

Finishing touches...

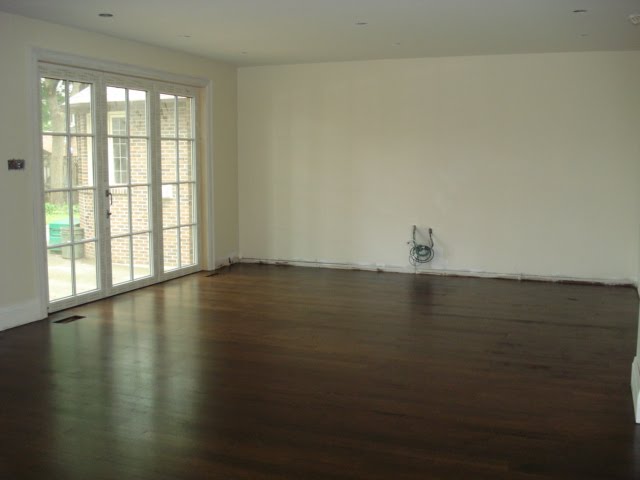
Once we finished painting the ceilings and put one coat of paint on the walls we started installing crown moulding. Afterwards was baseboards and casing trim around windows and doors. We decided to keep the original look of the house with the trim and we are really happy with that decision.


In living color

Once the drywall was finished, Rob started painting. The entire house will in the end, be painted from top to bottom. First primer on new drywall, then sanding, then first coat. Once all the cabinetry and trim is finished then one last sanding and final coat of paint.
We always use Benjamin Moore paint. The new water bourne 'Aura' paint on the walls and ceilings of the first floor and 'Collections' upstairs. We chose Cloud White in a flat finish for the ceilings and crown mouldings. The walls were all painted 'Feather Down' in an eggshell finish. Lucy just couldn't decide on individual room colors this early in the game, so neutral throughout it is. The baseboards and other trim is in oil based paint, satin finish, in 'Cloud White' as well. Painting trim is particularly onerous as it is all new wood and there is a lot of sanding in between coats of paint, not to mention the filling of every hole and crack with filler and caulking. We will also be painting out the vast majority of the old wood trim, like the mantle, living room crown moulding, dining room wainscoting and stairway. A huge job in itself.

Feather Down Cloud White

Tuesday, June 8, 2010

Off the wall


Leo, from LG Drywalling won the bid for doing the vapour barrier, drywall and taping job in the house. When we first started this project, we were expecting to drywall the new addition. We ended up drywalling the demolished areas of the old house and the walls and ceilings of the three old bedrooms. It was never our intention to do this, however, we saw more cracks had developed, I guess as a result of the construction. Leo advised that it was the way to go. Lucy had nightmares of more construction some day down the road and so was convinced to get it all done now. Just another way to blow the budget! In the end, there are only three walls in our living room that were left in the original plaster.


Knob and Tube be Gone!

Paul from Derock Electric did the wiring in the house. As previously mentioned, we upgraded the electrical service for the house from 100 to 200 amp service. We built an electrical closet where all the wiring for the house will be centralized. Everything has been replaced. Wiring, electrical boxes, receptacles, switches, etc. We have installed over 50 new pot lights in the house and added outside downlighting to the rear of the house. It took about 2 weeks to rewire the entire house back in January.

We blew it!!

Once the house was vapour barriered and the ceiling drywalled we took on the task of insulating the attic area. We chose 'GreenFibre' natural fibre blow-in insulation. This is the product that is made from recycled newspapers and other substrates. It comes by the bale and you basically dump it in a large hopper which chews it up and shoots it up a long flexible pipe into the attic. We set up the hopper outside the house and our good friend Jim gave us a hand. Jim and Lucy loaded the hopper while Rob was up in the rear of the attic with two way communication and an air mask. We managed to achieve about R45 to R50 in the attic. It was a dirty, messy job. One that Jim and Lucy do not want to repeat.

We got Gas!

We had installed a natural gas furnace and water heater, but still needed to have gas run to other appliances. Rommel’s friend Frank came in and ran the gas lines for us. He used ¾ inch flexible “track” pipe to run gas for the Dacor cooktop in the kitchen. He also ran line to the back of the house for the BBQ. Sometime in the future we will be running gas out to our garage so we can get heat there as well. That will come in handy one day when I work on my 'hobby' car.

Friday, January 22, 2010

Catch Up!

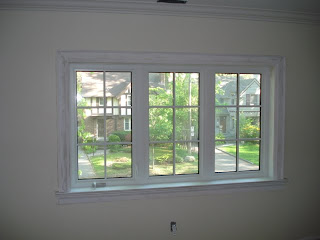
Sorry about not posting for some time now. Its partially the amount of work and time spent at the reno and being really tired of all things reno by the end of the day. We will try to catch up in the next few weeks. Since the masonry has been completed, we have had the exterior work pretty much completed for now. That includes having all the new windows installed in the old part of the house and the aluminum trim work completed.


Work on the furnace / laundry room is completed. We had the old concrete floor removed, then new drains installed. Following that, we had John Greco come back in with his crew and pour a new concrete floor and create the basement steps from the old basement into the new basement.
The HVAC equipment is installed in the new furnace room and ductwork throughout the house. That was a big job and took some time. We put in a York 96% efficient furnace and a 14.5 seer air conditioner in order to maximize our energy retro-fit grant. Bypass humidifier, media filter and a really cool thermostat round out the install.

Derock Electric has completed the rough in of the new electrical system. The entire house has been re-wired, no more knob and tube anywhere. We also moved our electrical panel and upgraded our service to 200 amps. The house has been pre-wired for an alarm system, computer network, phones, and cable TV.

The guys from HP house framing have done a ton of work for us. All the interior framing is complete including the basement. We had them open up the wall between the living room and dining room and the crowning achievement of a new Velux skylight at the top of the stairs to the upper floor. It is spectacular and we couldn't more more happier with that decision.

Before After
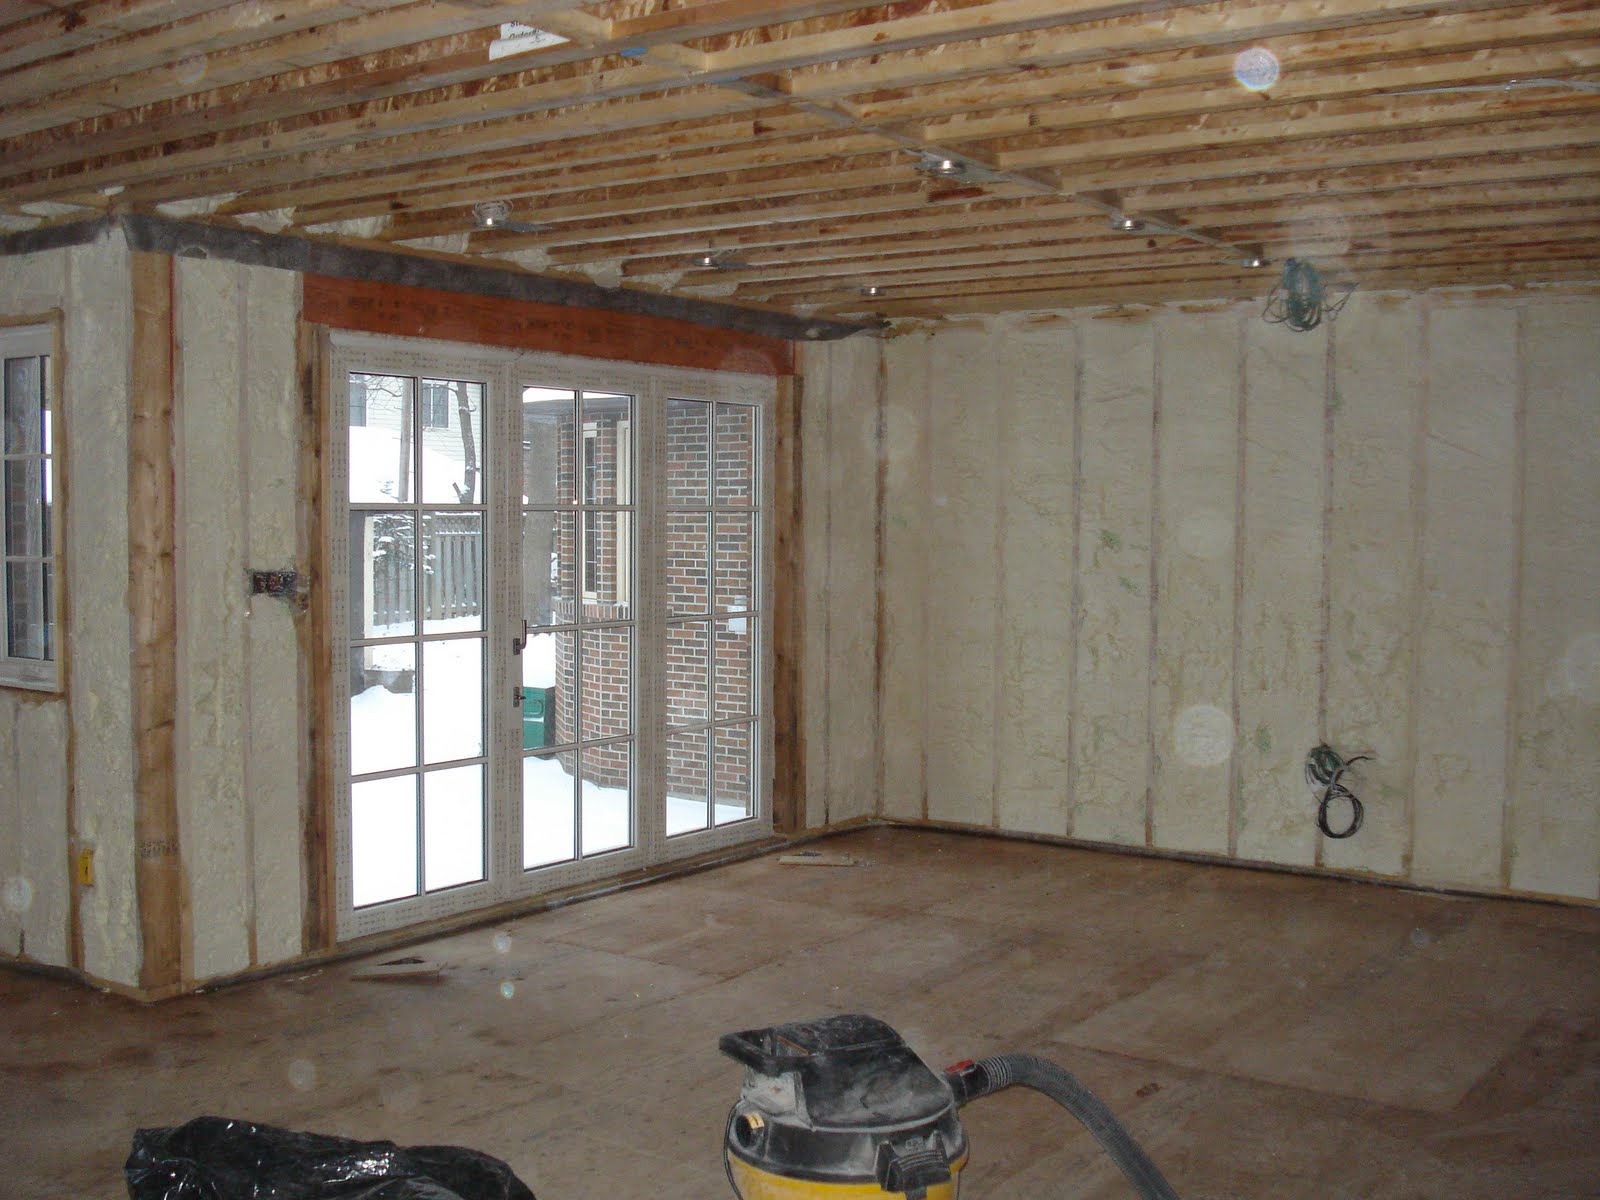
Most recently the exposed interior walls of the basement, first and second floors were spray foamed insulated. We used both open cell and closed cell foam. The company we used was Air Seal Insulators and we managed to achieve R20 on the exterior walls for the entire new addition. Some of the old house walls were also sprayed with closed cell foam where we managed to achieve R13.